
2022年04月04日
After much trial and error, I was able to build a VPN server that can connect from an iPhone without having to release ports or change Windows Firewall settings as described in other articles.
I will not discuss the mechanism and features of VPN because I believe that the readers of this article already have a clear purpose of using VPN communication. I think the main purposes of use are as follows.
*The second reason is mainly a “marketing tactic” used by VPN service providers to make you feel insecure, and in the modern era as long as you use the HTTPS protocol (≒ if you see a key symbol next to the URL in your browser), no matter what Internet connection method you use, the content of your communication cannot be decrypted by a third party.(e.g. check out this video). Therefore, it is not recommended to set up a VPN server or sign up for a VPN service for the purpose of “security concerns”.
Please take your own responsibility when doing anything described in this article. Although this is a relatively hassle-free method that does not require changing router settings such as port release, it is an action that could be a security risk due to the nature of VPN connections, for example, if the password is leaked, a third party could gain access to your home network.
Also, following the instructions in this article does not guarantee that a VPN connection will work in all environments. For example, in some of my trials, I was not able to connect to a VPN using the SSTP method if the client side was from a specific wifi network at the university.
If you find any inaccuracies or insecurity issues, I would appreciate it if you could gently contact me.
With the ~~ usual ~~ precautions that you should take…
| OS | Notes |
|---|---|
| iOS, iPadOS | You need to purchase a paid app called SSTP Connect. It costs 370 yen (approx. $2, at the time of writing) for the full purchase, and is cosmetically pleasing. |
| macOS (with M1 chip) | SSTP Connect, an iPhone app, is said to work as is. I have not tried it myself. |
| Windows | SSTP communication method is from Microsoft, so it is standard supported by the OS. |
| Ubuntu | Install the client with apt. |
I think Android can also be used if SSTP communication can be supported. If you have tried it by yourself, please let us know.
SoftEther server can be used as long as it works, but in my case, my PC has the following specifications
| Name | Specification |
|---|---|
| Processor | Intel(R) Core(TM) i3-7100T CPU @ 3.40GHz |
| RAM | 4GB |
| SSD | 128GB |
| OS | Windows 10 Pro |
I used a very small PC called Lenovo ThinkCentre M710q. I was able to buy a used one for about 16,000 yen (approx. $120) by using coupons on Yahoo Shopping (this product. It has only DisplayPort without HDMI as video output. I used a PC with Windows Pro to use Microsoft Remote Desktop, but if you don’t need that feature, the Home version is fine.
According to what the official page says, SoftEther requires at least
is recommended.
It is not cool to use too large a PC just for a VPN Server, so in addition to the Lenovo ThinkCentre, an Intel NUC or even a Chuwi Herobox. However, please do not build a VPN server on a laptop, as laptops are not designed for constant operation and there is a high risk of ignition, etc. Also, wired is faster and more stable than wifi. The PC for the server should be connected to the router with a LAN cable. Also, please make sure you understand at least what a VPN is and what SoftEther is before proceeding.
It should work without this, but it is recommended to set up a fixed IP address because it is easier to remote desktop and manage servers in your home network if the IP address is fixed. (You can do this later).
There are already many articles on the web on how to fix an IP address, so I will skip the explanation.
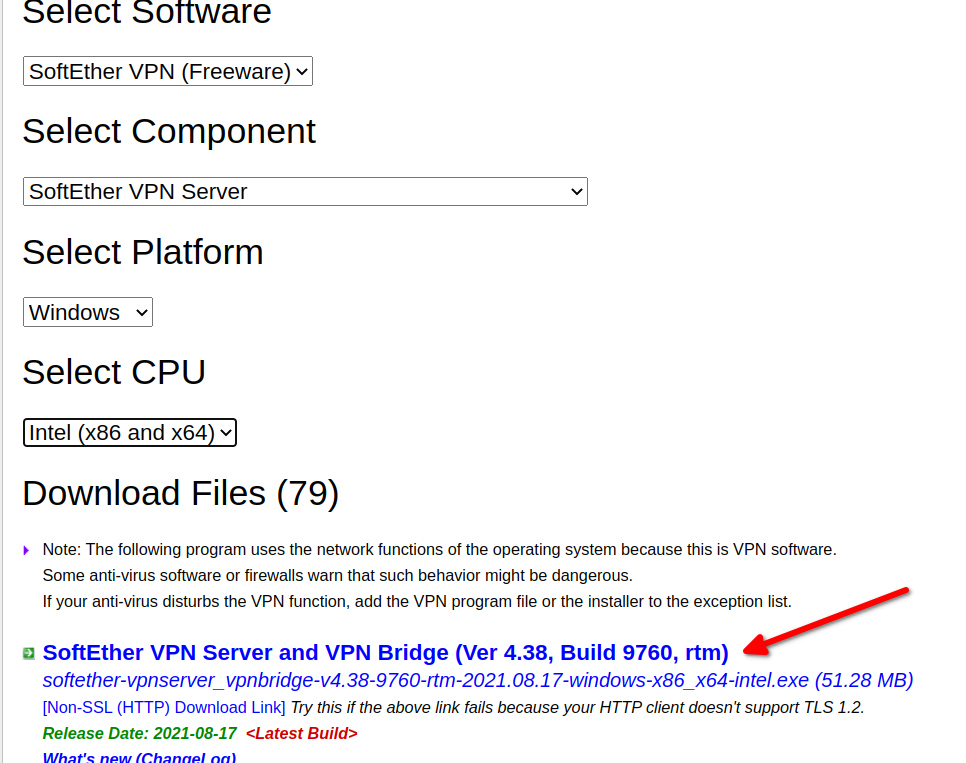
Download the latest version from SoftEther download page and select SoftEther VPN → Server → Windows → Intel (x86 and x64) as follows. Download the latest version and run the installer.
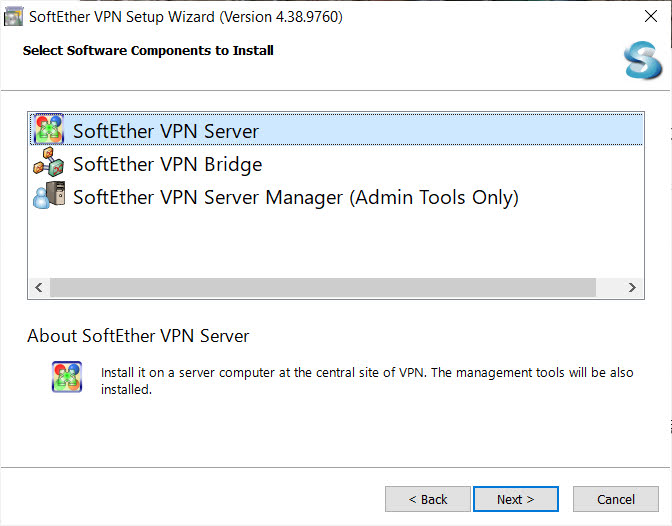
Select SoftEther VPN Server as software to install and install it.
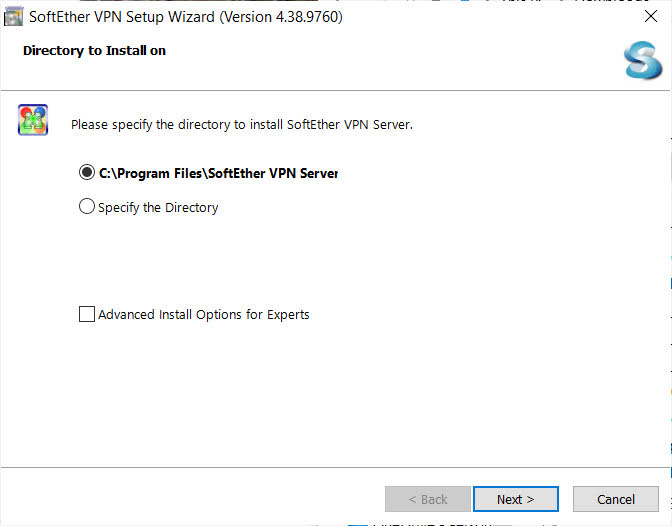
You can leave the default installation directory
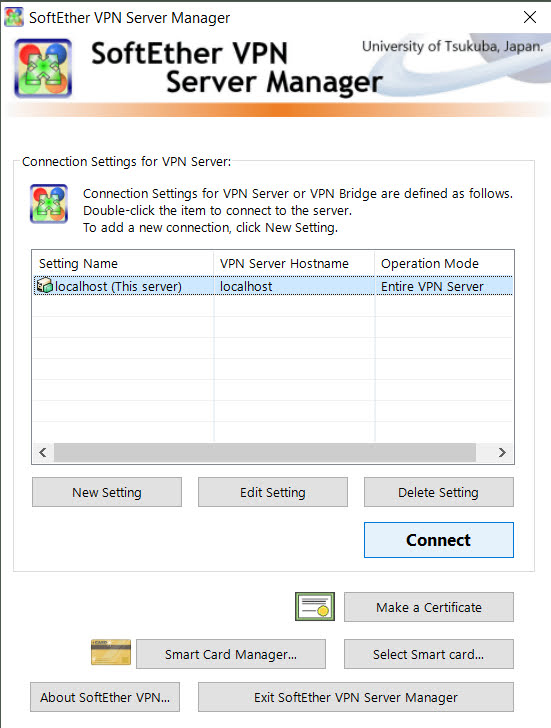
SoftEther VPN Server Manager, which starts automatically after installation, is not the server software itself, but the software to manage it (the server is always running in the background). So you can connect to other SoftEther VPN servers on the network and change their settings. But this time, the management software and the server run on the same computer, so I select **localhost (This server) and Connect/Connect.
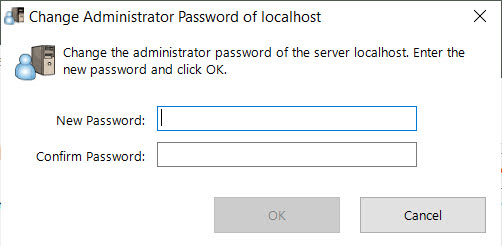
Set a strong password for the server admin.
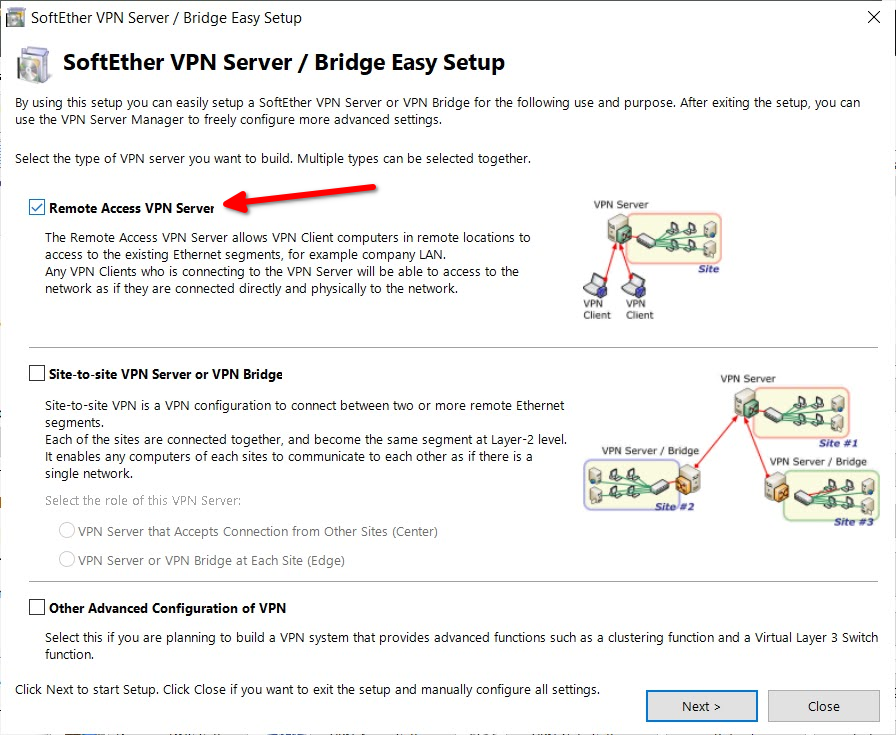
Setup screen comes up, select Remote Access VPN Server.
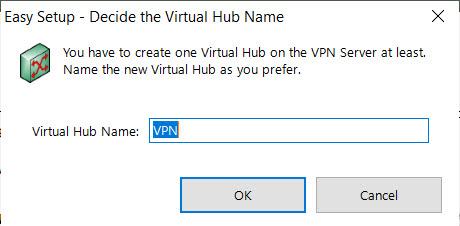
Decide on a name for the virtual hub on the VPN server. I think the default is fine.
Check the Hostname for Dynamic DNS. A hostname like vpn_*****.softether.net is randomly assigned, so you can leave it as it is or change it to whatever you like (as long as it doesn’t cover the existing one).
Dynamic DNS is a very nice feature, and when connecting to a VPN server at home, you need a global IP address, which is your home address in the Internet. The hostname given by Dynamic DNS will always point to your home global IP address, so you can connect without having to look up your global IP every time. (If you can use a terminal, you can confirm that you are connected to the global IP address of your home network by ping vpn_*****.softether.net)
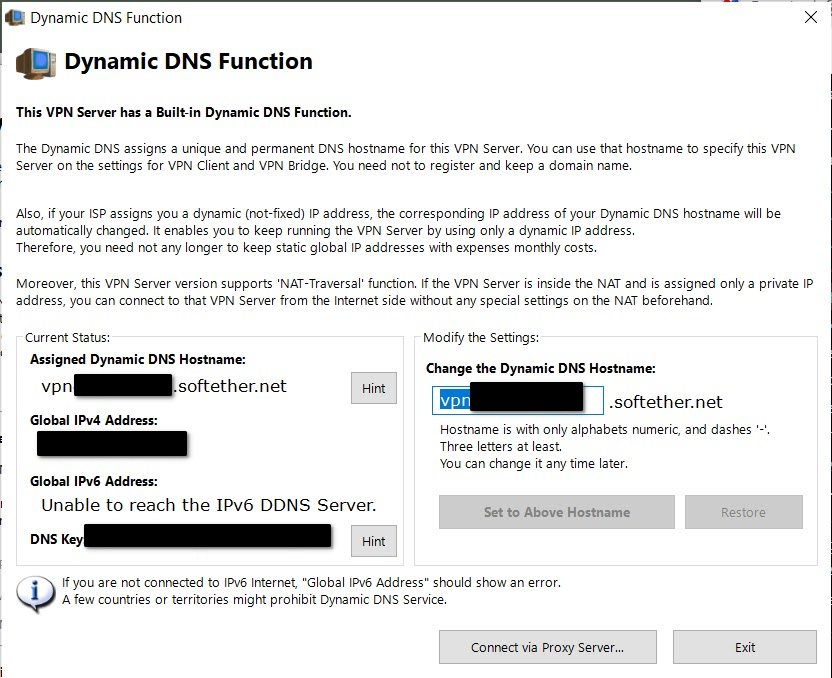
Once you have confirmed this, Exit.
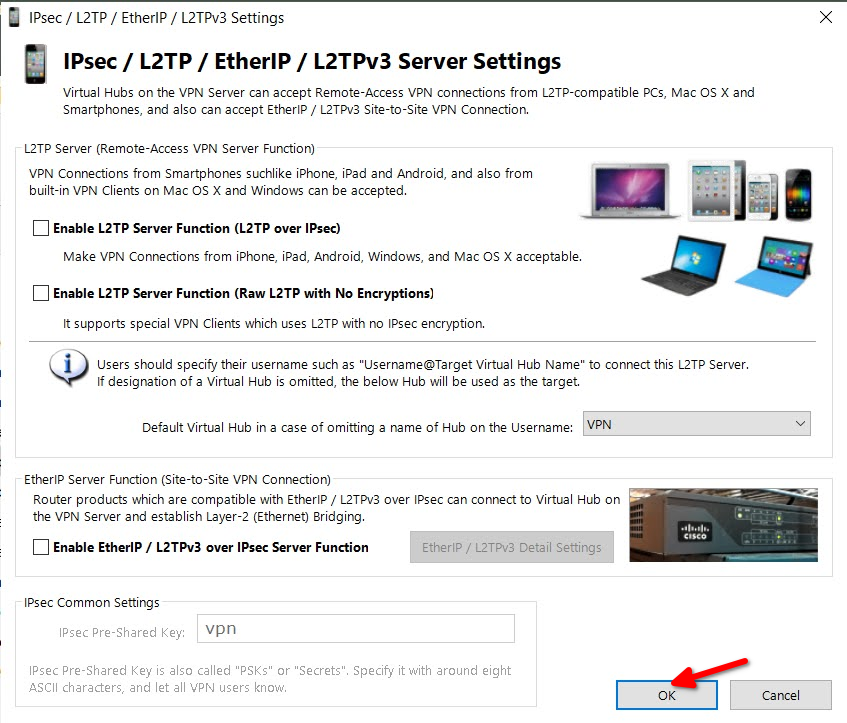
On the next screen, you will see a screen that says you need to configure additional settings such as L2TP in order to connect from an iPhone or something. Leave the check box unchecked and press OK to proceed.
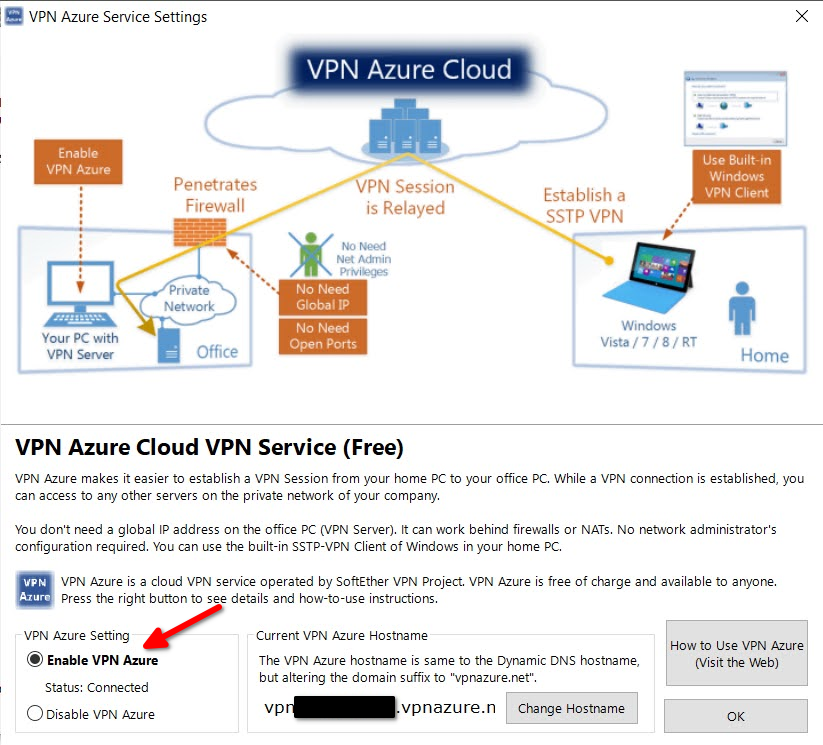
On the other hand, VPN Azure is required for SSTP communication. Select Enable VPN Azure and press OK to proceed.
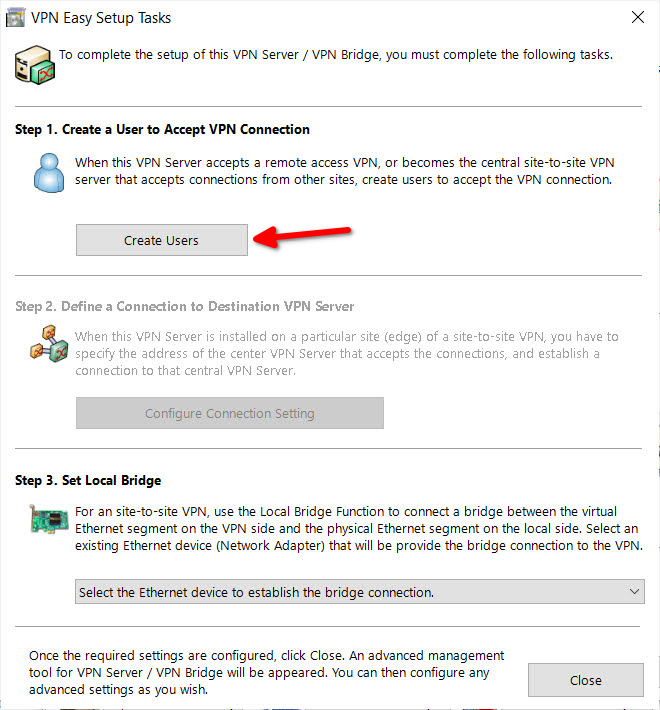
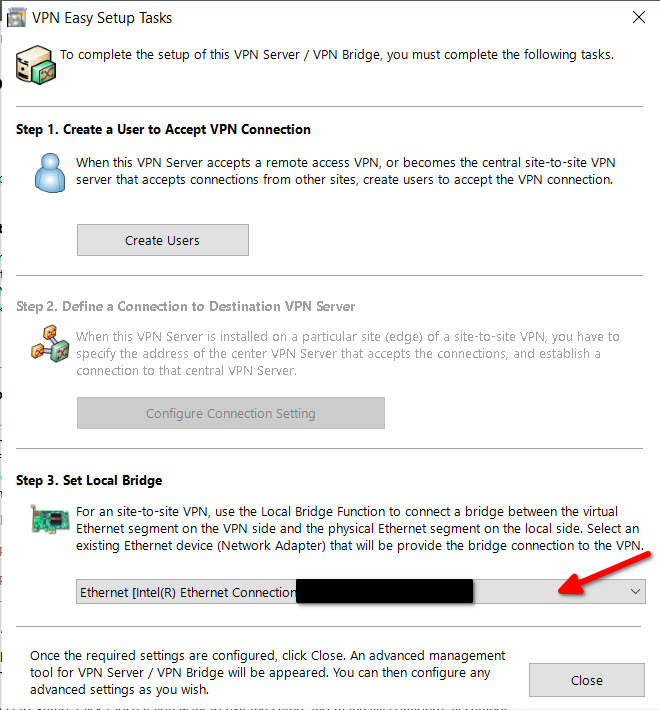
Next, create a user profile to connect to. Select Create Users.
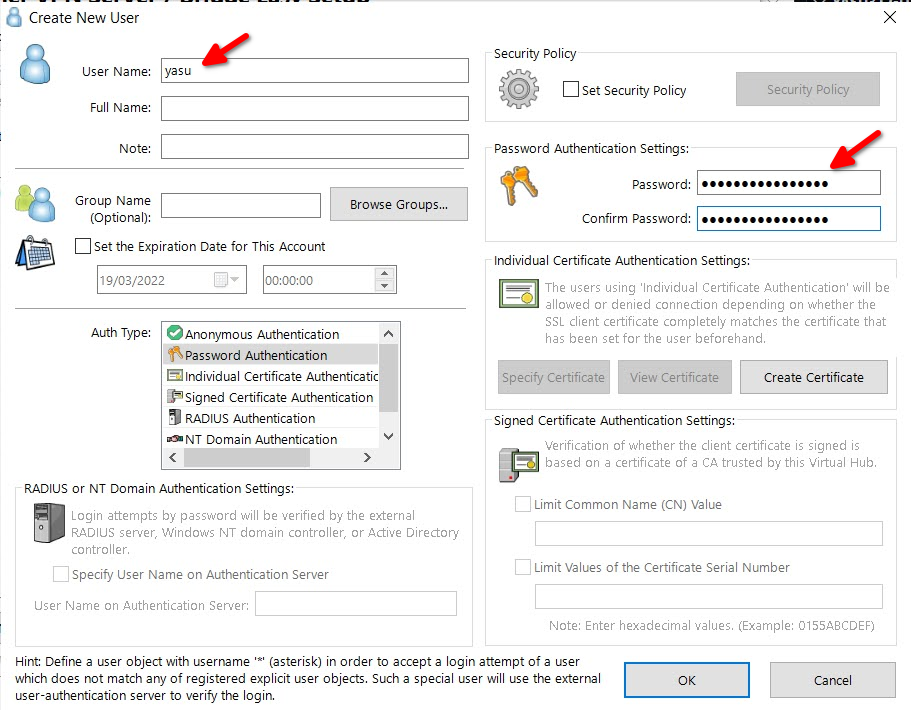
Create a new user. First, just set the User Name and Password. The password should be longer and much stronger. (I think it is better to make the user name more elaborate as well.) If this is breached, you will have unlimited access to your home network from the outside (this is the risk of setting up a VPN server at home).
Create a local bridge. Select the network adapter that your PC uses to connect to the Internet. I forgot to set this up when I first set it up and got very confused.
Now that it probably works as a VPN server, I’ll try it in Part 2 article.
In some environments, you have to enable SecureNAT feature to get VP
□ Installing ROS2 in a Virtual Environment Using RoboStack
 Forget Microsoft Copilot: Map your PC's Copilot Key to ChatGPT
 Simulating YOUR robot in MuJoCo - how to create a MJCF file from a CAD model