
Lately, I haven’t been booting into my native Ubuntu OS very often, instead doing almost everything on Windows’ WSL. When I want to use ROS in that environment, RoboStack is very handy, which allows you to install ROS in a mamba virtual environment. For example, the usual ROS installation procedure has Ubuntu version constraints (e.g., the latest ROS 2 Jazzy is only supported on Ubuntu 24.04). However, if you’re using a virtual environment, it basically doesn’t matter which OS version you’re on. Also, by using a virtual environment, you can even run both ROS 1 and ROS 2 on the same machine. If you want to use ROS without contaminating your base environment, RoboStack is a very strong tool.
That said, there are some constraints, such as the fact that you can only install packages registered in RoboStack. If you want to heavily use ROS, the usual installation methods might be better. Also note that this information is current as of February 2025, so if there are any discrepancies with the official tutorials, please adjust the commands accordingly.
What do all the Package Managers mean?
The terms related to package managers—conda, mamba, miniforge, conda-forge—are all somewhat similar and can be very confusing, so here’s a brief explanation (I only really researched this properly for the first time for writing this article):
- conda: The original package manager among these tools. Anaconda is a distribution that includes data science packages on top of conda, but it’s not particularly relevant here.
- mamba: A high-speed version of conda rewritten in C++. Apparently
mamba installresolves dependencies much faster thanconda install, so you should use this. - miniforge: A lightweight conda distribution that comes bundled with mamba if you install it. We’ll install this first.
- conda-forge: A package repository for conda and mamba. Think of it like an App Store. The ROS 2 environment we’re using from RoboStack is also distributed here.
Let’s go ahead and build our ROS2 environment. It mostly follows the RoboStack tutorial, but I’ll point out where I ran into trouble, so please read it alongside the original article.
1. Install miniforge
Following the instructions in the miniforge README:
curl -L -O "https://github.com/conda-forge/miniforge/releases/latest/download/Miniforge3-$(uname)-$(uname -m).sh"
will download the installer, and then
bash Miniforge3-$(uname)-$(uname -m).sh
will install it.
2. Install ROS
Again, following the tutorial, first create a virtual environment called ros_env:
mamba create -n ros_env python=3.11
Then activate it:
mamba activate ros_env
If you get a message telling you to “please run mamba init,” then do mamba init (if you’re using zsh, do mamba init zsh), open a new terminal, and run mamba activate ros_env again.
After that, as stated in the tutorial, run conda config --env **** commands to set which channels to enable, and finally:
# If you want to install Jazzy Jalisco, the latest ROS2 distribution
mamba install ros-jazzy-desktop
will install the ROS packages! Now, if you run rviz2, the magic happens:
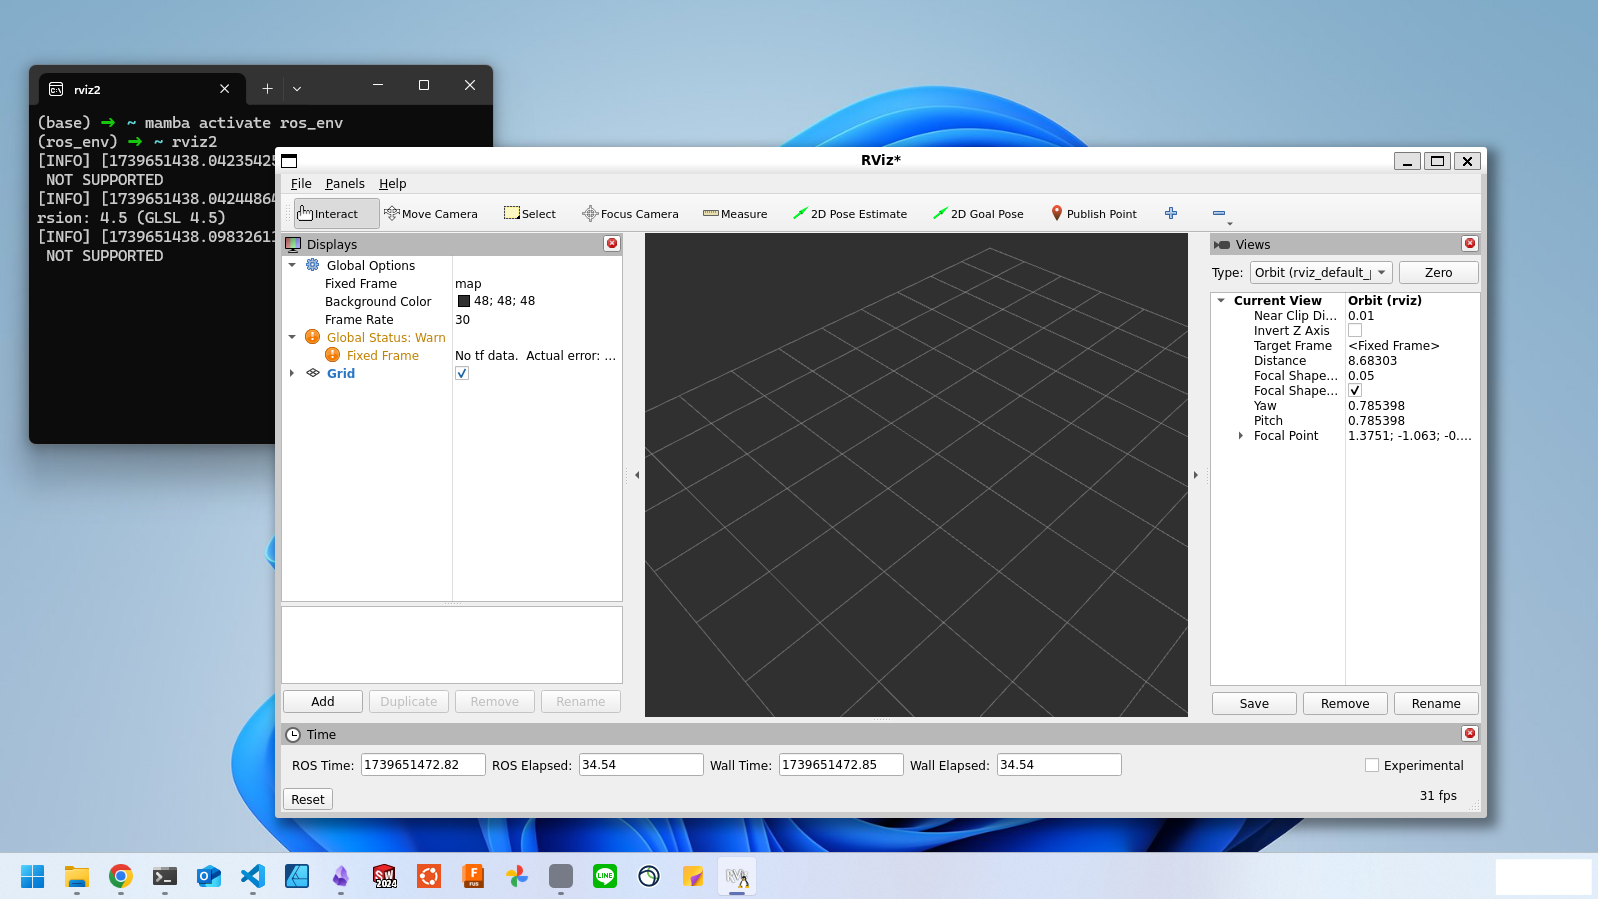
Rviz can launch on Windows! (If you’re on the latest WSL2, you can display GUIs without even setting up an X Server.)
Next, as described in “Installation tools for local development”, please install cmake, colcon-common-extensions, and any other necessary packages.
3. Set up the environment for colcon
Next, follow the ROS2 “Using colcon to build packages” tutorial to set up your build environment.
You can skip the initial command sudo apt install python3-colcon-common-extensions because we already installed colcon-common-extensions with mamba above. Likewise, source /opt/ros/jazzy/setup.bash is also unnecessary because it’s automatically run when we do mamba activate ros_env.
4. About Installing ROS Packages
Typically, if a ROS package provides binaries, we would install it with something like sudo apt install ros-jazzy-joint-state-publisher, but since we’re running in a mamba environment, we have to install it inside that environment using mamba. (If you try to install via apt, it should fail because the underlying ROS2 is not installed in the base system.)
Check that the package you want is listed on https://robostack.github.io/jazzy.html, and then install it like this:
mamba install ros-jazzy-joint-state-publisher-gui
If it’s not on that list, unfortunately, you’ll need to build it from source. This is one of the downsides of the RoboStack version of ROS.
That’s it! Enjoy your ROS 2 life!
 How to model tendon-driven robots: Calculating kinematics and forces through the tendon Jacobian
 Cut off the Internet, and LLMs are still a hallucinating mess.
 How to Set Up Isaac Sim on Non-Officially Supported AWS Instances with Remote Desktop Access
 About that time we won the mimic / Loki / OpenAI Robotics Hackathon